Teaching middle and high school ELA students about mood can sometimes feel like a challenge, which is why I’m such a fan of using mood boards in my independent reading project activities. Most students think they get mood right away, but it’s easy for them to confuse it with tone. That’s where the beauty of a mood board comes in— it gives them a chance to visually express what they’re learning, which makes it so much easier to understand.
Teaching about mood is a valuable skill because it helps students dive deep into an author’s purpose and see how word choice shapes a text. By linking the emotional atmosphere with images and colors, you’re giving students a tangible way to visualize these abstract concepts. Plus, using a mood board in your independent reading project is a fun and creative way to reinforce these lessons while keeping students engaged.
I absolutely love how this project makes analyzing mood both approachable and fun! If you’re looking for a creative way to bring mood to life in your classroom, keep reading to learn more about how a mood board can engage your students and make the concept stick.
What’s a Mood Board?
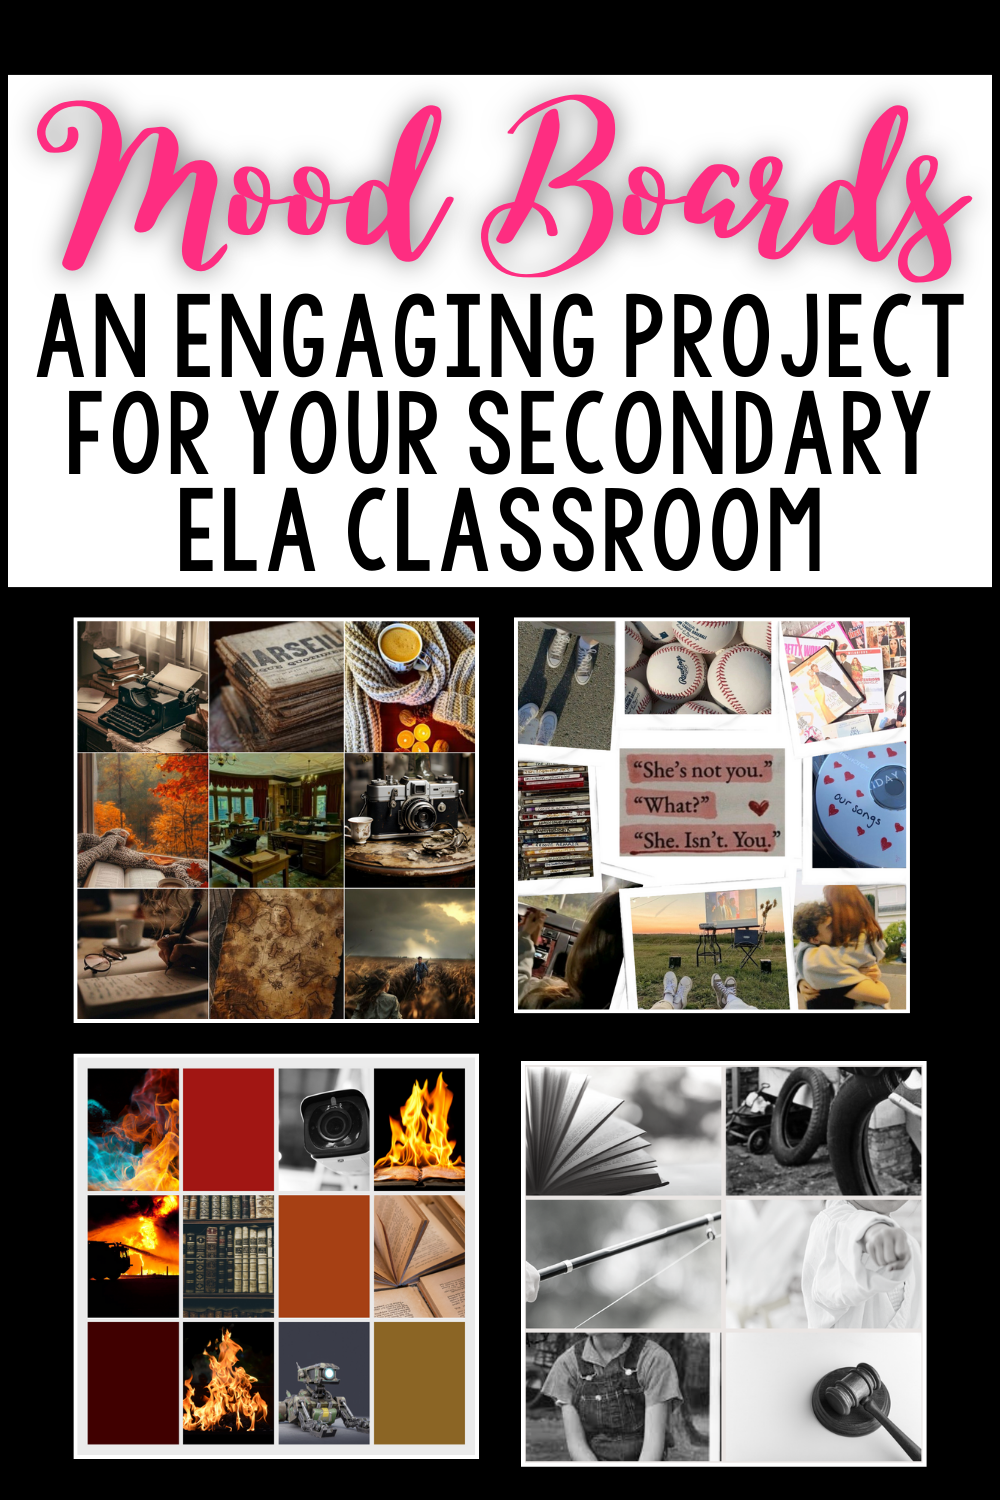
A mood board is a visual representation of carefully selected images that seek to elicit an emotional response from a viewer. Much like an author does with words, a mood board does with photos. This parallel makes it easier for students to see how their choices affect the overall mood of the piece.
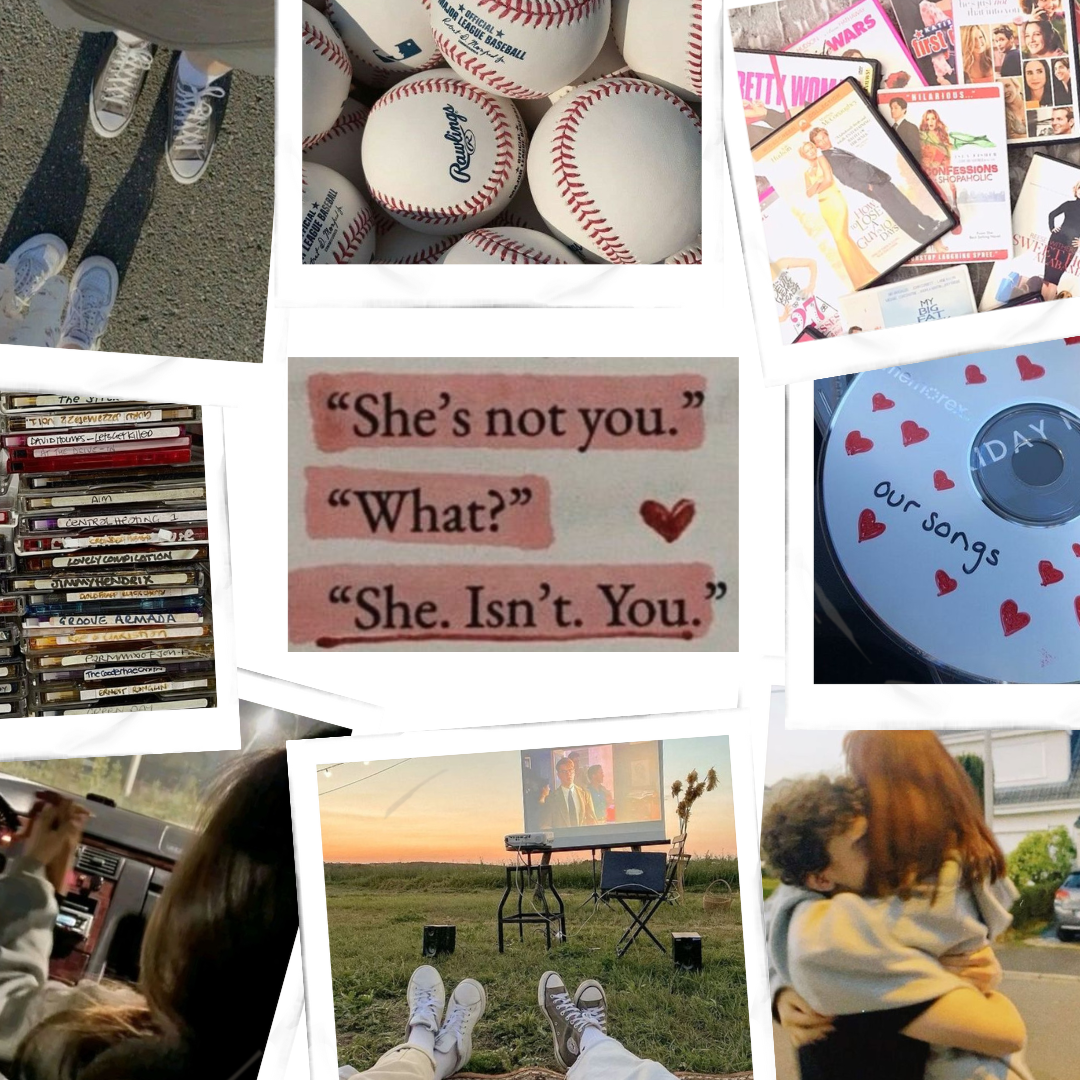
Can you guess which popular Young Adult novel this one is from? I’ll give you a hint! It’s a romance and it has a sequel.
What Does a Mood Board Look Like?
I like to give my students specific parameters surrounding the mood board, but then I often leave them to their own devices to assemble the finished project. The purposeful choices are what makes this project such a rich experience, so students often need time to do that. Below is an example I created from To Kill a Mockingbird by Harper Lee.
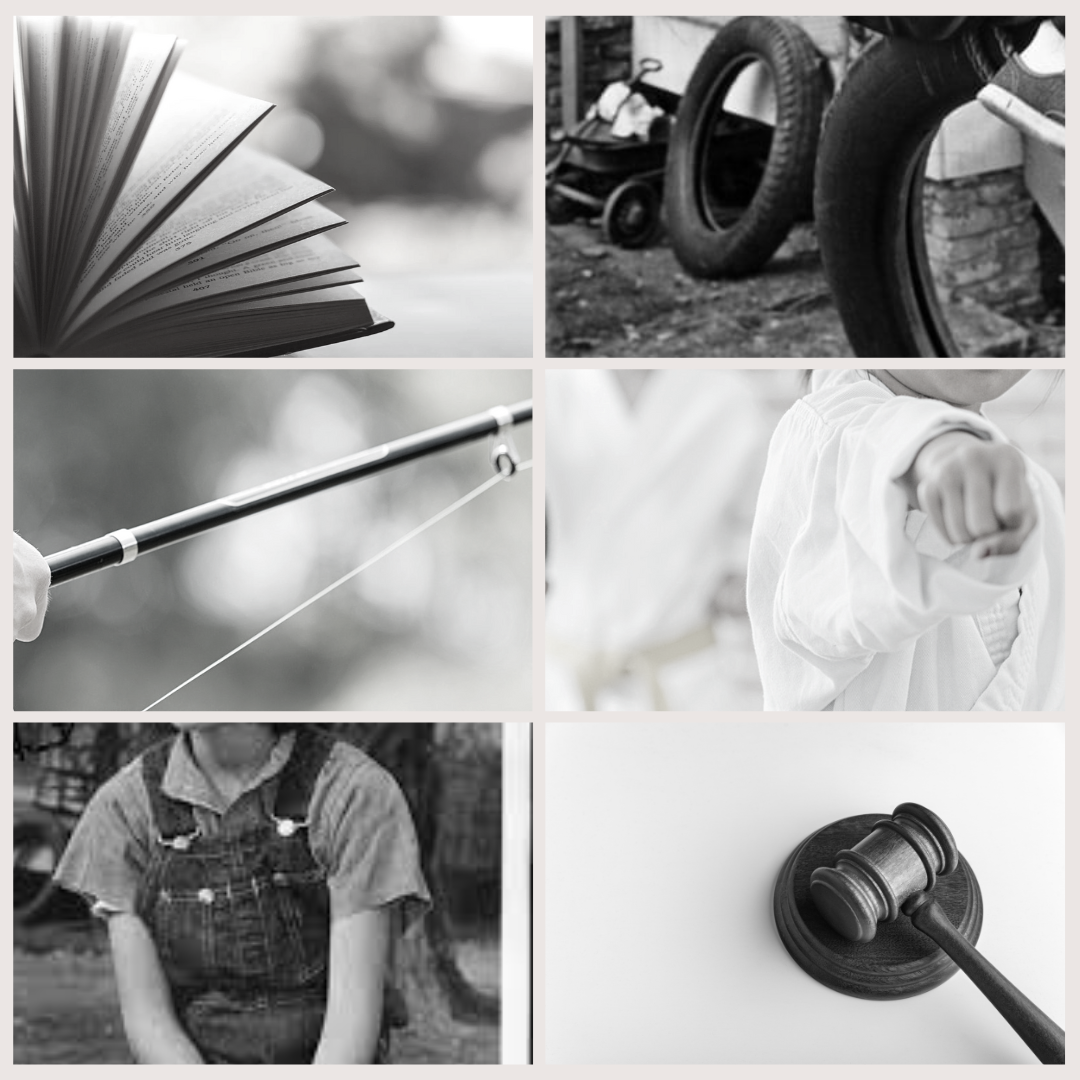
I teach my students that everything surrounding the mood board is a choice that affects the overall mood– the layout, the colors, the images, the design, etc. When they are finished with their visual piece, I have students write about the experience and explain why they chose their specific elements and how they affect the mood. This component allows for the critical thinking we aim for as ELA teachers.
How Do I Create a Mood Board?
I give my students a lot of options when it comes to the creation of the Mood Board. For my students who are more artistic on paper, I allow them to illustrate it themselves. I also provide templates for those who may need some extra scaffolding. For those of us who can’t draw that well (like myself), I give my students a digital option using either Google Slides or Canva. Using magazine images to collage would also be a great option. Below I created a quick video so you can see how easy these are to create in Canva.
Ways to Use a Mood Board
- Describe or compare characters.
- Depict the mood of a setting.
- Show how authors create mood.
- Compare word choice with image choice.
- Display the mood of a specific conflict in any text.
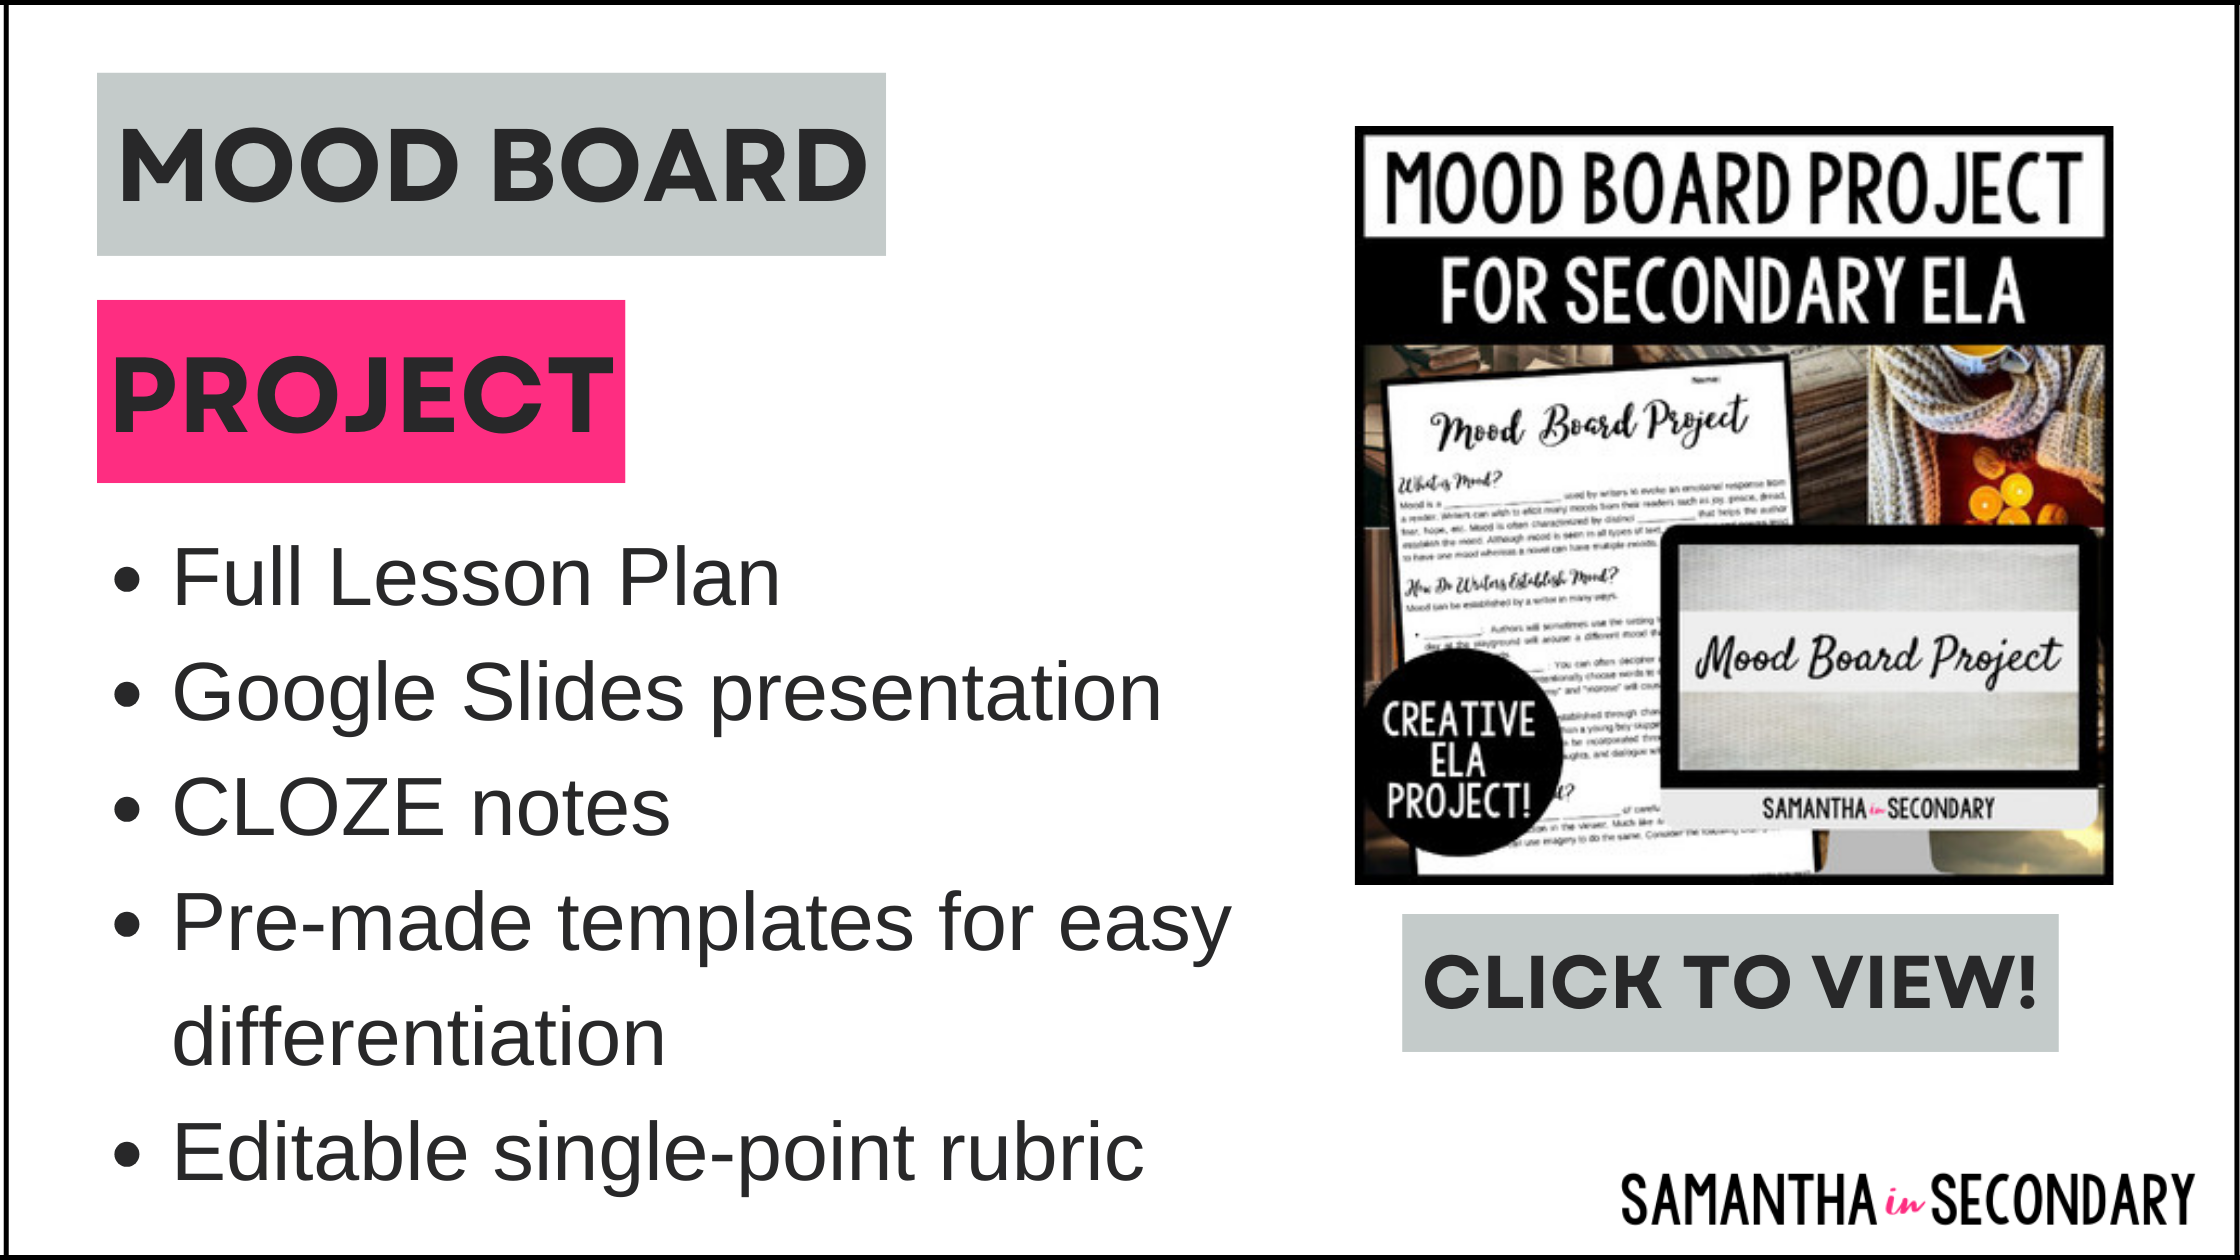
If you love the idea of this project, but don’t know where to start, you can get my print-and-go resource that includes a presentation, student notes, examples, templates, and an editable rubric in my shop here.
How do you teach mood? Would you try a Mood Board with your secondary ELA students? Sound off in the comments below or follow me on IG or Facebook to continue the conversation.
Happy teaching!

